Wednesday, August 20, 2014

Contemporary House and PBR Materials WIP 1

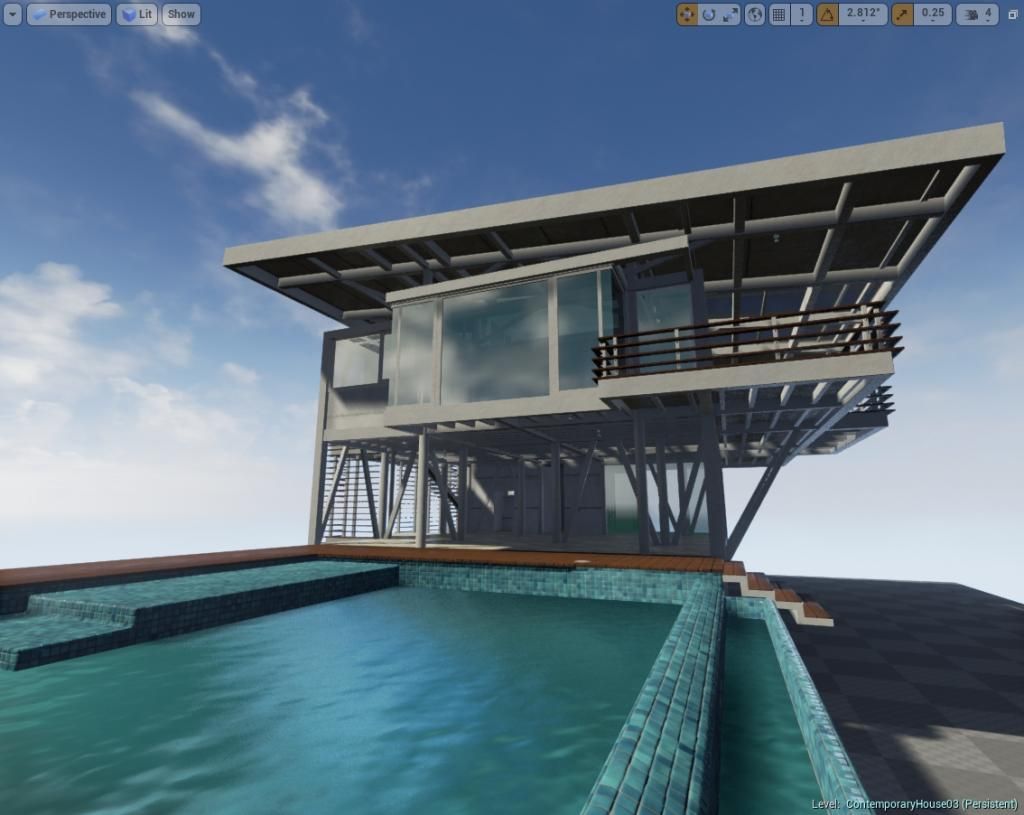
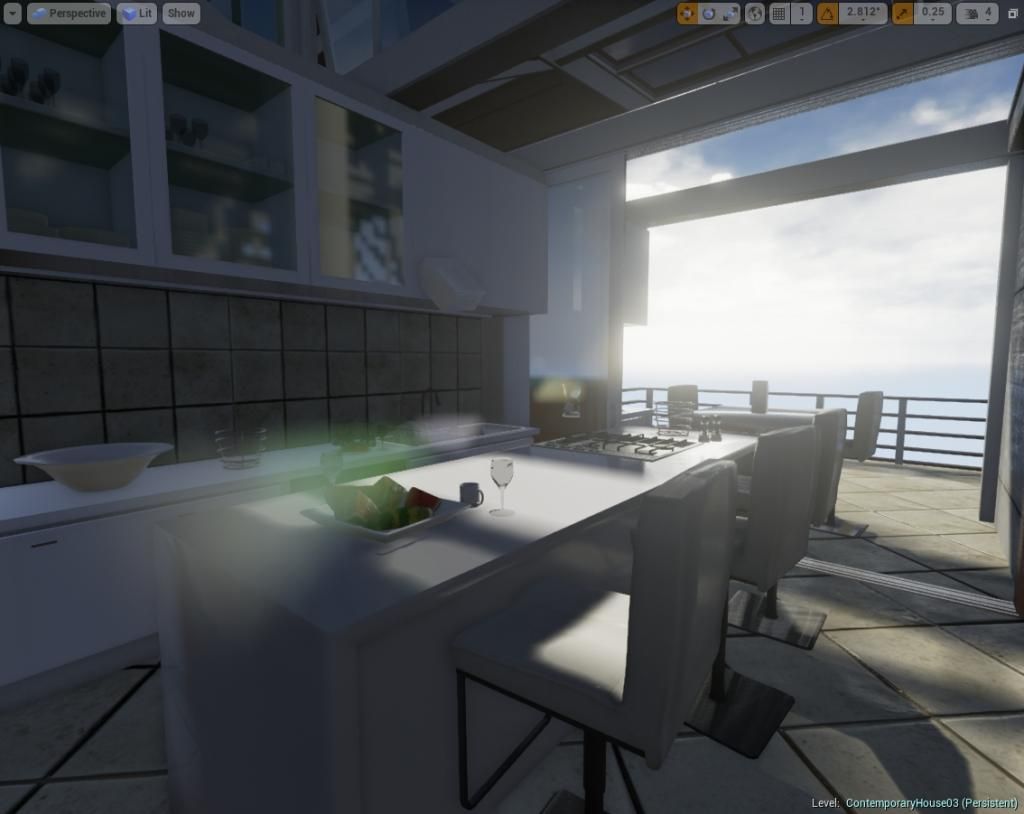
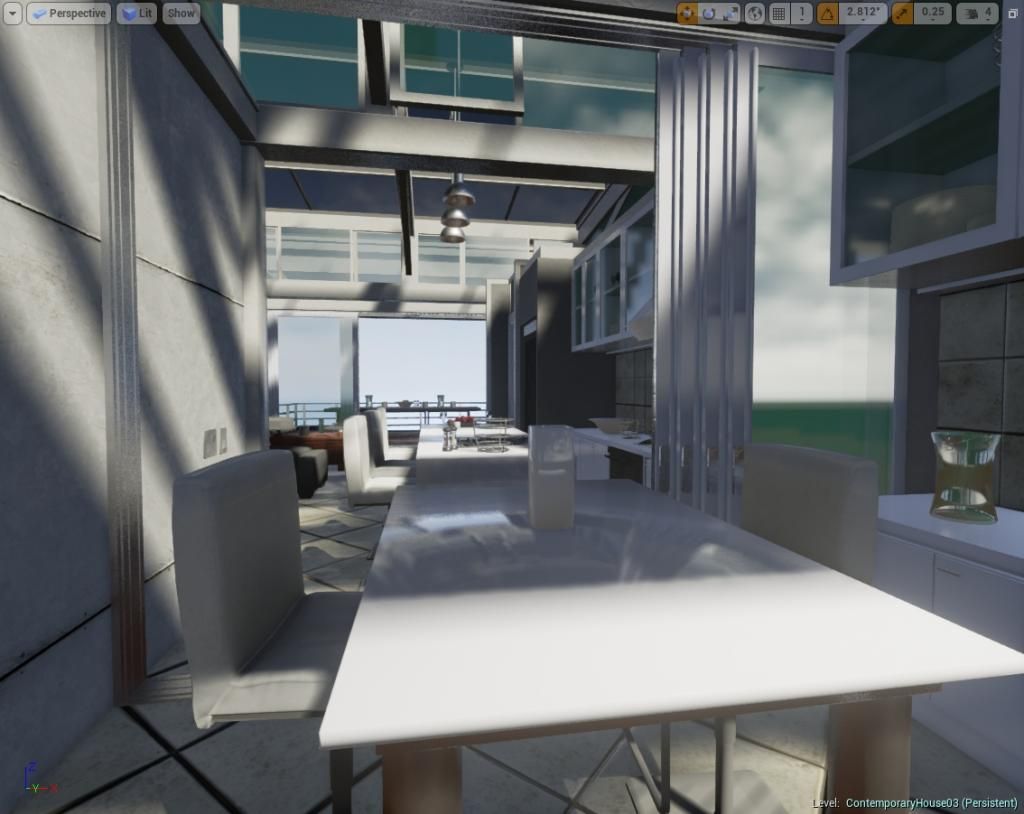
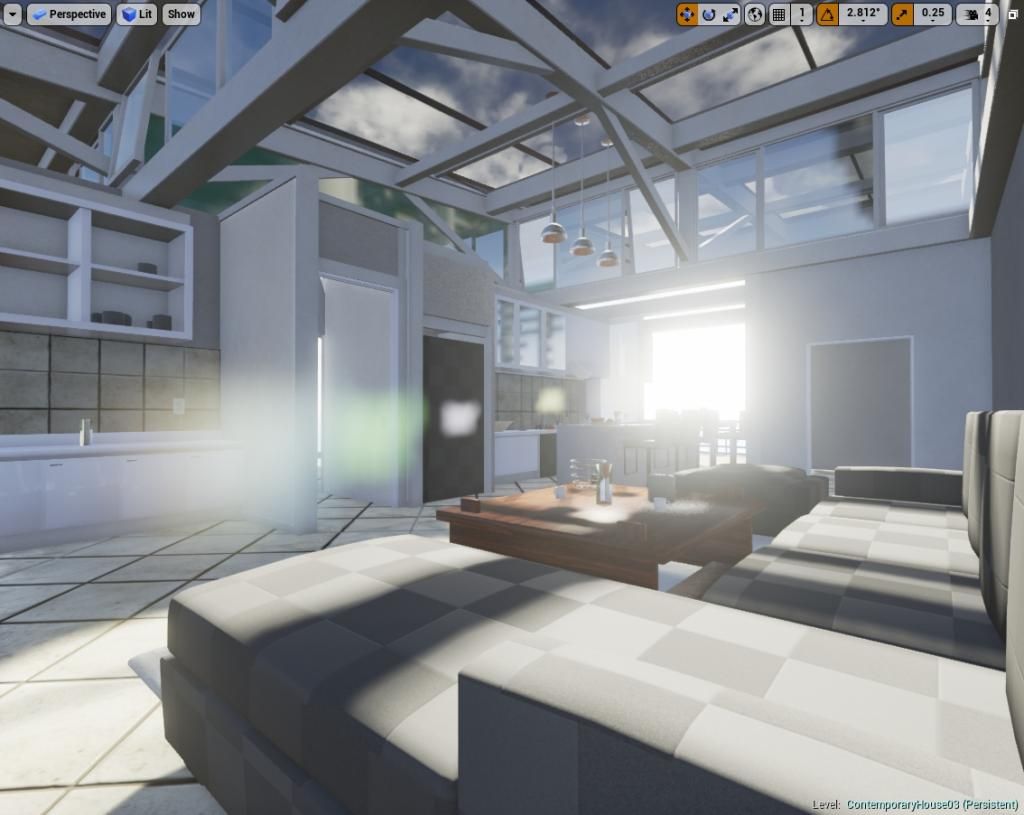
I have been revisiting an architectural model that I did a while ago, and using it to practice Physically Based Rendering Materials in Unreal Editor 4. I must say, these materials look awesome! It has already been well known that all materials are reflective, but the cost of having reflections in materials--even fake--was just too expensive. Even the materials that did have reflections had to fake it by using a cube map. Now, the reflections are a true capture of the surrounding scenery and computed real-time. You can even move the location of the reflection capture and recompute it, which is cool. I've really been pushing for every material to have normals created in Zbrush or baked from a hard surface model in Maya using xNormal, instead of the less-desirable results from a quick CrazyBump conversion.  Here is what I've got going so far:


Monday, March 17, 2014

Chair 01 WIP

Doing this chair for a living room environment I've been working on. Heavy use of Zbrush and dynamesh. The texture is a 2048. I baked the normals and polypaint from Zbrush using xNormal. The ambient occlusion was baked from Maya. Rendered in Marmoset. I am calling this one done for now and I may tweak later but want to get all of the other main props for the environment finished.  photo Chair01_Sheet_zpsbd3c79d3.jpg

Sunday, November 17, 2013

Robot Arm WIP 5

I'm calling this one finished! Got around to creating the specular map, added a subtle diffuse for the cable and altered small text on labels and added some missing cracks and re-baked the normal on the big black pivot bolt to dial in the mesh. Here's the outcome:

RobotArm_WIP_07 photo RobotArm_WIP_07_zpsac942312.jpg

Sunday, November 10, 2013

Robot Arm WIP 4

Latest update: textured the claw. Next I will be tweaking the diffuse (I am thinking more weathering or at least variation on the flatter hues) and also creating a specular map.


 photo JonathanArmstrong_RobotArm_WIP_06_zpsc10b1497.jpg

Monday, October 21, 2013

Robot Arm WIP 3

I've added a claw and just threw in some flat colors and baked out the normals from Zbrush. Next I will use spotlight to get a better Diffuse and then move on to the gray cable diffuse and the overall specular map.


Sunday, October 13, 2013

Robot Arm WIP 2

I've got around to quickly texturing this bad boy and it seems that the diffuse looks great with the spotlight feature in Zbrush and just painting onto the 3D mesh and extracting the diffuse in xNormal. Of course I still have to do some editing and adding small details like text and labels and overlaying the ambient occlusion map. Already the model is looking way more interesting with the Diffuse texture added.

Next, I plan on texturing the cable and adding label text where the blank labels currently are. I will also add a specular map and that should really pop the dark black medal and add more variation and interest across the entire model.


-Jonathan

Sunday, August 11, 2013

Robot Arm WIP 1

I thought I had created a work in progress post about this already, but I have been a lot more work in Zbrush and particularly with hard surface sculpting and using the Dynamesh feature with Zbrush 4R5. I decided to make a challenge for myself so I picked the most interesting piece of machinery that I could. These are the arms that are used to work on cars and do other repetitive tasks in assembly lines of factories. I have got to the stage of created a low res mesh and baking the normals with xNormal. I never knew the power of xNormal but I am very happy with the results, as I don't have to worry about the UV correlation between the high res and low res mesh, only the low res. The object is currently 3,194 tris and 1,589 verts. This was down from about a 15-25 million poly mesh in Zbrush. :) Here are the screenshots, from the Zbrush viewport and in Marmoset Toolbag:
-Jonathan