I've got around to quickly texturing this bad boy and it seems that the diffuse looks great with the spotlight feature in Zbrush and just painting onto the 3D mesh and extracting the diffuse in xNormal. Of course I still have to do some editing and adding small details like text and labels and overlaying the ambient occlusion map. Already the model is looking way more interesting with the Diffuse texture added.
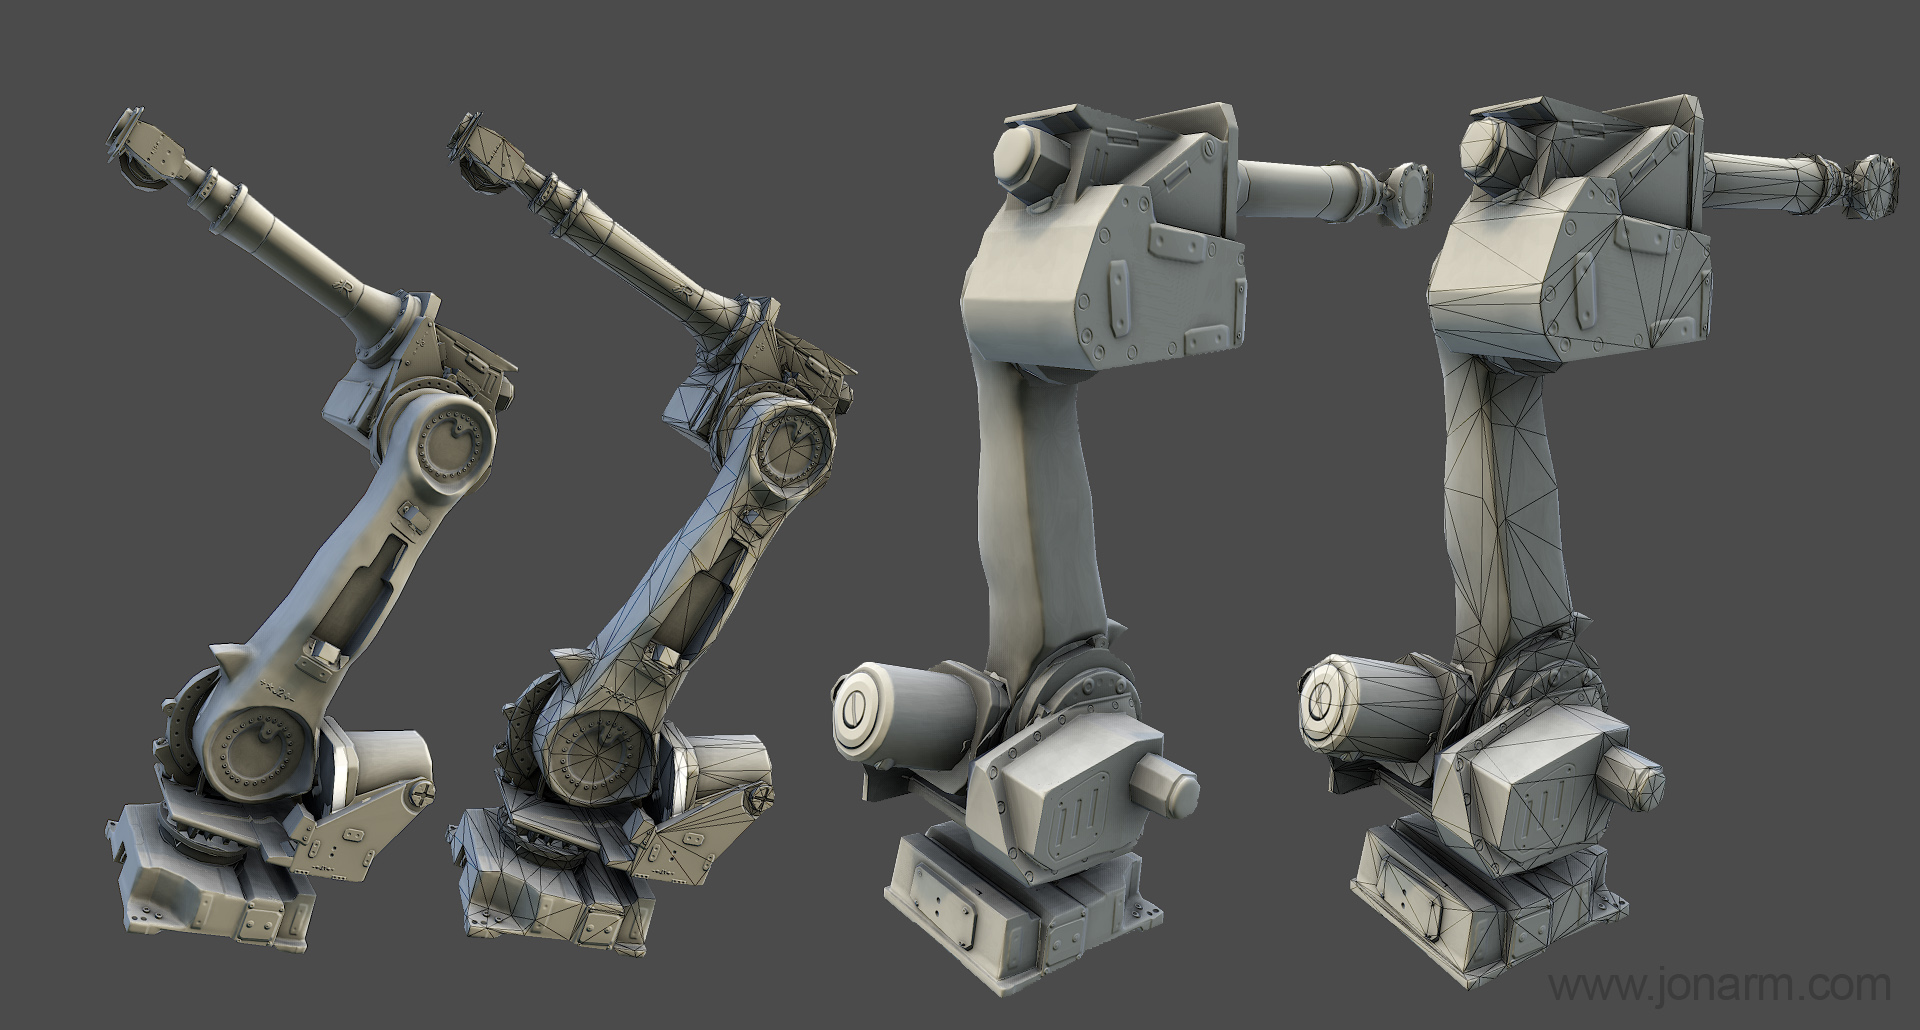
Next, I plan on texturing the cable and adding label text where the blank labels currently are. I will also add a specular map and that should really pop the dark black medal and add more variation and interest across the entire model.
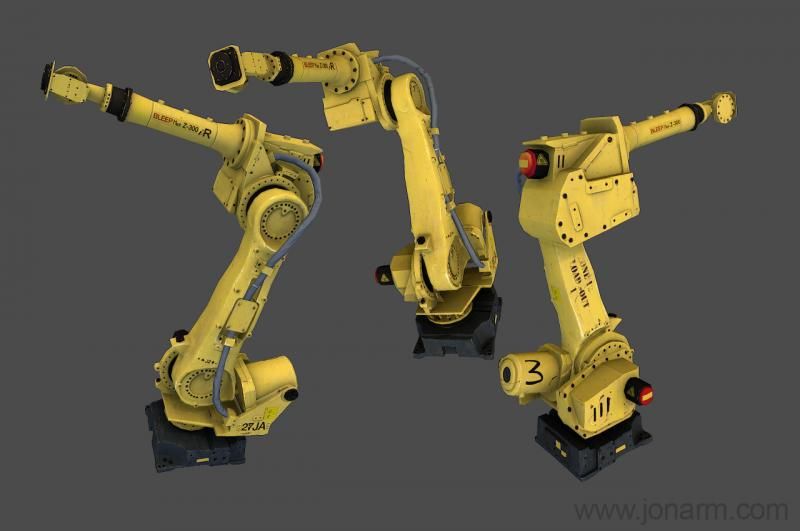
-Jonathan
Sunday, October 13, 2013
Sunday, August 11, 2013
Robot Arm WIP 1
I thought I had created a work in progress post about this already, but I have been a lot more work in Zbrush and particularly with hard surface sculpting and using the Dynamesh feature with Zbrush 4R5. I decided to make a challenge for myself so I picked the most interesting piece of machinery that I could. These are the arms that are used to work on cars and do other repetitive tasks in assembly lines of factories. I have got to the stage of created a low res mesh and baking the normals with xNormal. I never knew the power of xNormal but I am very happy with the results, as I don't have to worry about the UV correlation between the high res and low res mesh, only the low res. The object is currently 3,194 tris and 1,589 verts. This was down from about a 15-25 million poly mesh in Zbrush. :) Here are the screenshots, from the Zbrush viewport and in Marmoset Toolbag:
-Jonathan
-Jonathan
Tuesday, September 4, 2012
Female Bust WIP
I've been doing more Zbrush practice. Here is a female bust that I've been working on. I plan to get a low-poly version into Maya with UVs.
Added eyes and softened the cheekbones:
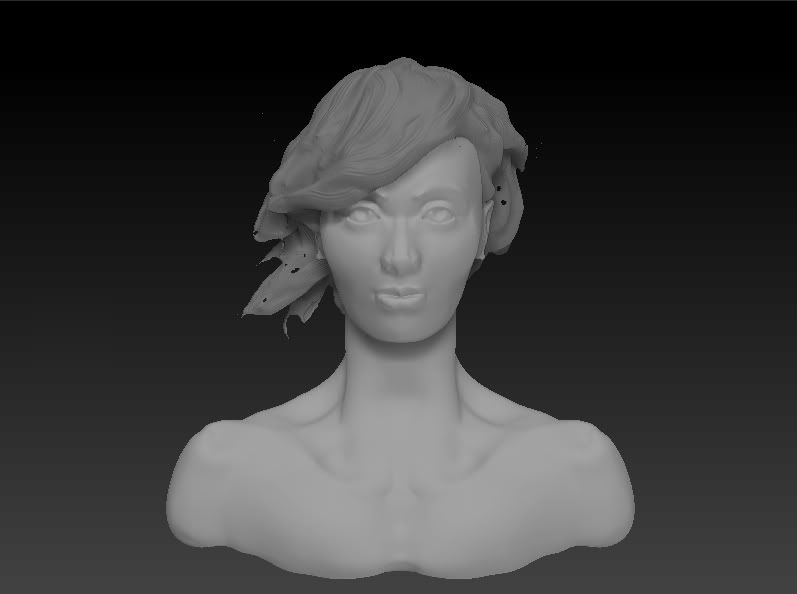
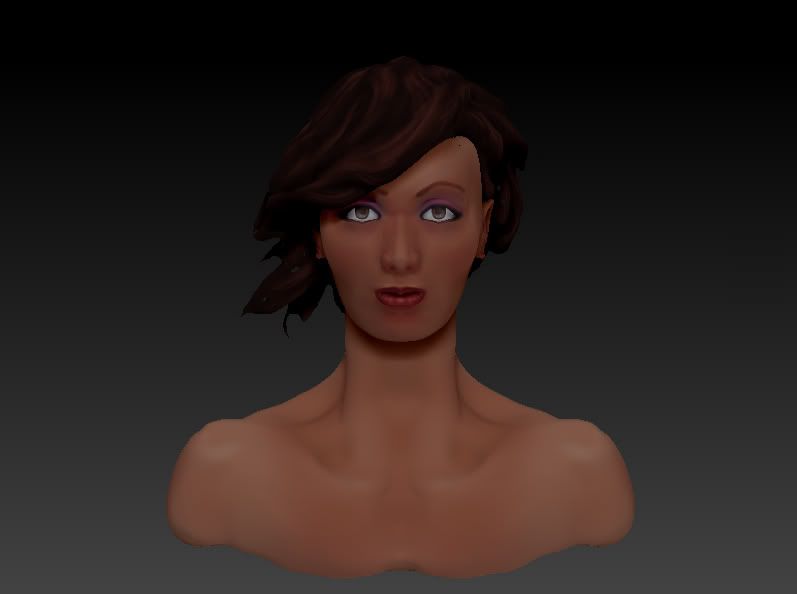
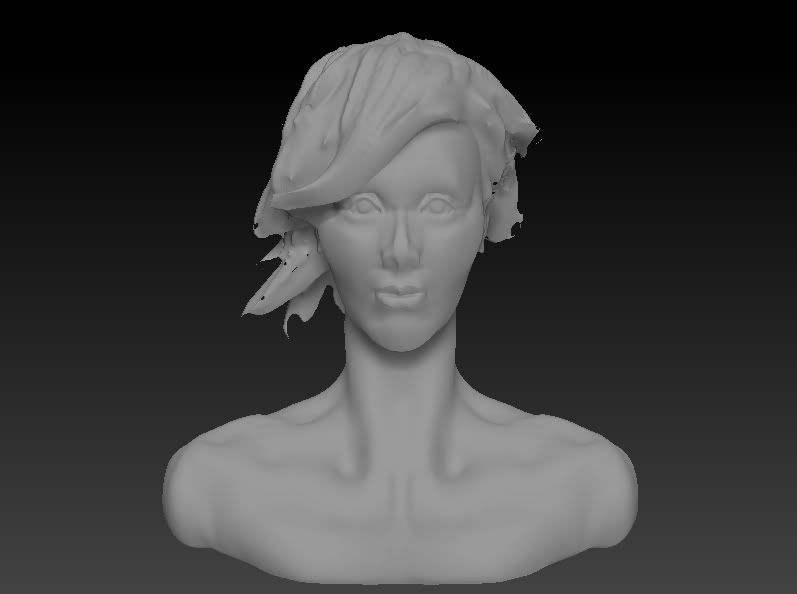
I didn't like the proportions, so I rounded out the face and shortened the neck. I also refined areas like the mouth, nose and eyes. I also added more detail to the hair:
I used Polypaint to add texture (the shader is the flat-lit "chalk"). I forgot the eyebrows so I roughed them in using Photoshop:
Next, I intend to fix the holes in the hair and to add differences in material properties using specularity and glossiness for the eyes and lips.
Added eyes and softened the cheekbones:
I used Polypaint to add texture (the shader is the flat-lit "chalk"). I forgot the eyebrows so I roughed them in using Photoshop:
Next, I intend to fix the holes in the hair and to add differences in material properties using specularity and glossiness for the eyes and lips.
Wednesday, November 2, 2011
Surfer WIP
Project Aron
I am posting this after it has already been a while since my involvement in Project Aron: a mod for the PC that is developed in UDK (Unreal Developers Kit). The mod is still in development but I have left for other business. I was responsible for creating modular buildings and modeling and texturing the majority of the environment, as well as world building and shader setup (using our teammate's custom shaders) in UDK.
Here are some videos of the test level that we had produced:
Jonathan
Here are some videos of the test level that we had produced:
Jonathan
Sunday, January 16, 2011
Contemporary Architecture WIP
Thursday, October 21, 2010
Zbrush Head Practice WIP
I took a sphere and started making a head out of it. No reference pictures for the model, but I did look at various images online for the texturing. I just started coming up with a native tribesman, and then it started looking like Michael Jordan so I ran with it a bit. I'm still working on the texturing and planning on baking the high res mesh on a lower res, optimized mesh, just for some Zbrush practice. Right now I'm about 50% done with the texturing.

Subscribe to:
Posts (Atom)