Sunday, February 17, 2008

Unreal 3 Editor and Bubble Diagrams


I am currently working on a level for Unreal in my class. The other day we had to draw up bubble diagrams: which are node-based layouts in which events are simplified in the form of descriptive text with bubbles drawn around them. Each subsequent event or notable area (such as weapon pickups, health stations, npcs, etc.) are linked to the pertaining bubble. When all the bubbles are linked together they form a crazy-looking diagram. The Areas of more importance in the level are proportionately bigger than the smaller areas. With the simple bubble diagram layout, I drew up a basic floorplan sketch for my level and then refined in photoshop. I am building the level in 3DS Max and have imported most of it into Unreal 3 (no textures, yet); the green boxes are player references (96x64x64 px).
Here are some assets that I have created that can be placed anywhere in the scene.
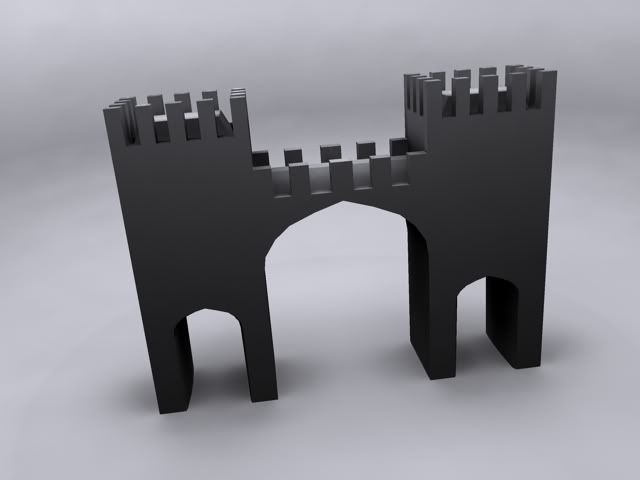
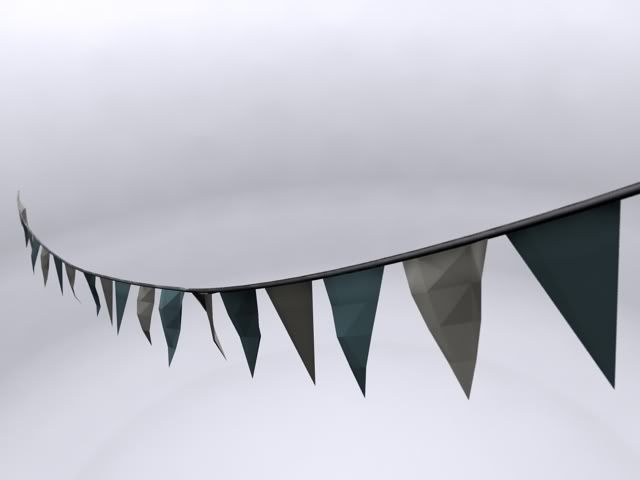
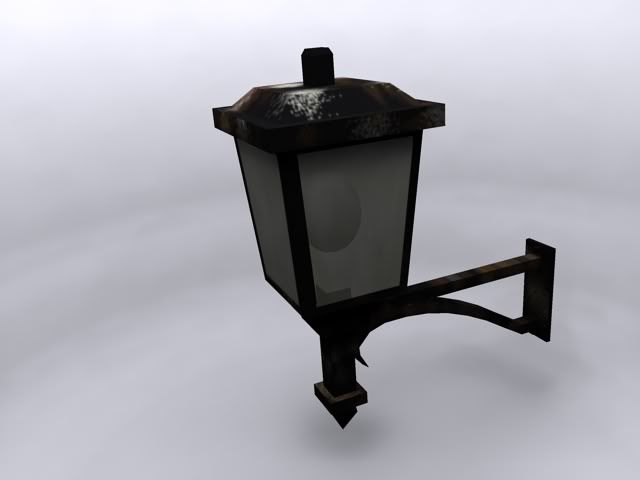


I can't wait to see the final product. Stay Tuned!

Thursday, January 24, 2008

Call of Duty Mod Tools!

AS the title suggests, the Call of duty 4 SDK has been officially released for the PC. I can't wait to start fooling around with the level editor and try importing some of my own meshes into the engine. Hopefully the Radiant Editor won't be too different from the Doom 3 Editor, in which I am getting familiar with. The file can be downloaded at File Shack or File Planet for free. In effort to speed the process of the learning curve for the mod tools, Infinity ward has released a Call of Duty 4 Wiki: iwiki

Monday, December 24, 2007

Custom Texturing

I have been further learning the Radiant/Doom 3 Editor and have learned a lot about texturing. There are separate channels that the texture must be split up into: specular, normal map (bump), and diffuse. Diffuse= main color information and overall look of object; specular= highlights- a desaturated version of the diffuse with enhanced value gradation; normal map= grayscale version that is used to simulate a height map on a flat surface. An easy way to convert your diffuse maps into a normal map is the NVIDIA Normal map filter: a plugin that can be downloaded from http://developer.nvidia.com/object/photoshop_dds_plugins.html. All three of these separate channels are combined using a material file that tells each how to react to light. This is the magic of texturing! The texture cannot be viewed in its full effect until compiled in game. Texturing is tough business but pays off... in the words of 3D World Magazine: "texturing is 99 percent of the visual experience of a game."

Tuesday, December 11, 2007

Learning Radiant Editor

I have recently done some research on development companies such as Activision, ID, and Infinity Ward. Judging level editors by reading what Activision had posted on their site, it seems that they prefer, in order:

1)Radiant Editor
2)Unreal Editor
3)Quake Editor

Following this advice, I have since been learning tutorials from MODSonline.com and 3DBuzz.com about the Doom 3 Editor since it is Radiant-based. I already have the game and it comes with its own editor- also I like the detail that was achieved in the game. I immediately noticed that the editor has a simpler interface than what I was used to (Valve Hammer Editor). The feature I am most impressed with is the ability to Compile the level in a small window and run through it as if it were in-game. This is extremely helpful for fine tuning the color and distance of lights, etc., to get just the right feel. The editor seems to require a lot more scripting than that of Hammer, where every object seemed to be pre-programmed and the user just throws it in the game and it works. With the Radiant editor, I will be able to learn more about the inner workings of each level and have finer control of the output. At the moment I have a test level built but am planning on using the editor to make a level that has a completely different feeling than that of Doom. There is also a simple way to import 3D models from 3DS Max which also has me very excited. Stay tuned for my first finished level!

Saturday, December 1, 2007

Working with Ambient Occlusion

I have been doing research on how to make models look more realistic. Global Illumination is a very desired method of creating a skylight that simulates realistic soft shadows on a model- in real time during the render. The only problem is that the process takes a lot of the computers' resources and thus adds to the render time. The quick answer to this problem of getting it done while having it look good seems to be "Ambient Occlusion" This method fakes global illumination by creating a global light (usually the default lighting set up in any program when no lights are added to the scene) and figuring where the rays are being blocked by geometry. This creates the appearance of a softer shadow look, and, when composited into a basic phong or blinn shader, produces noticeable results. There is also a way to bake the occlusion into the uv map- so that the model can be updated quickly when rendered at different angels- also helping with the initial positioning of the diffuse map when texturing. I admit I'm no pro on the subject, but it is something worth getting a better understanding of to simulate more realistic models. I will try and render some examples so that it will be easier to understand.

Sunday, October 28, 2007

Practice Levels

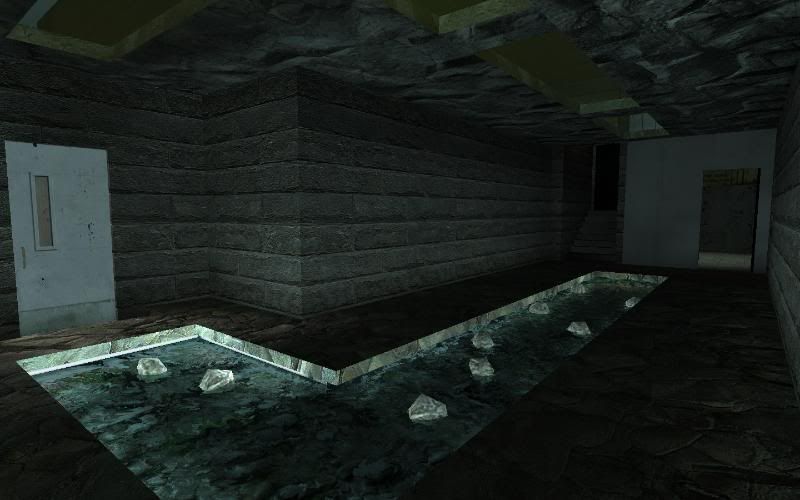
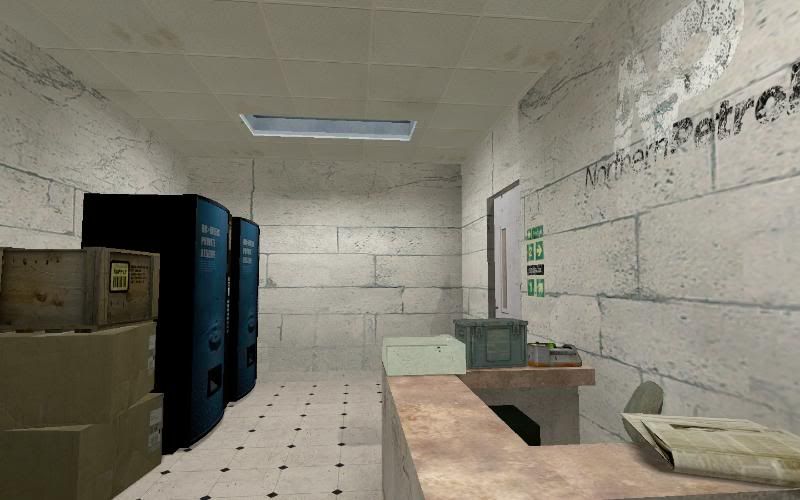
Okay, so I've been working with the Valve Hammer editor for a few months now and have managed to build 2 test levels. One of them is set in a prison shower room and there are zombie npc's that are hidden around the corners and are triggered whenever the player walks past. There is a boarded door, in which all the boards must be broken to advance to the next room. The rest is incomplete, as it was my first map and I didn't really have a good concept to follow.
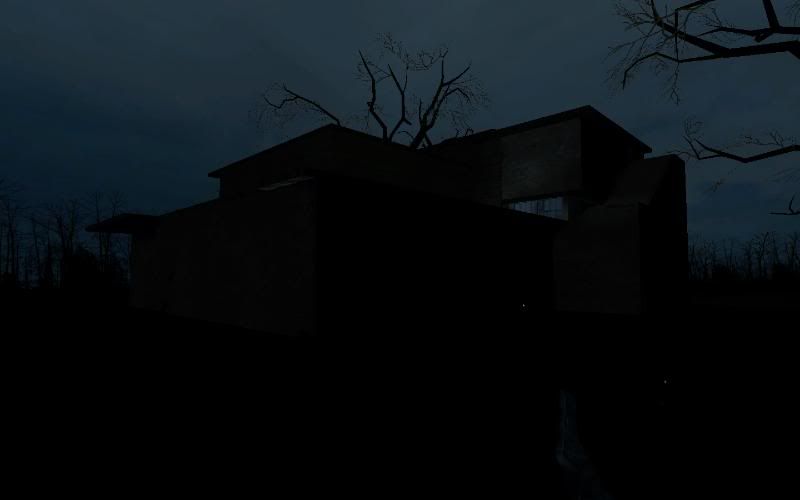
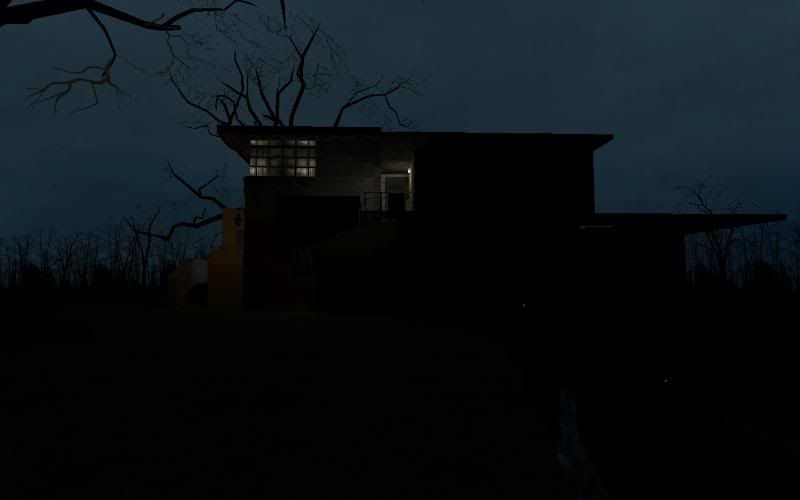
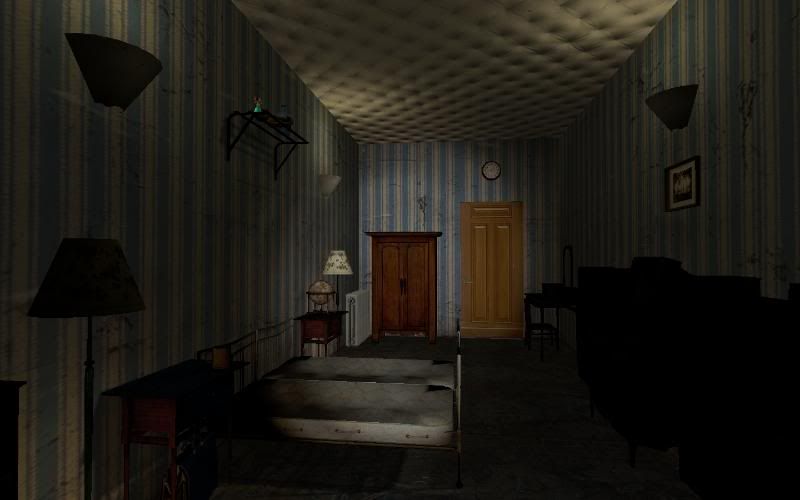
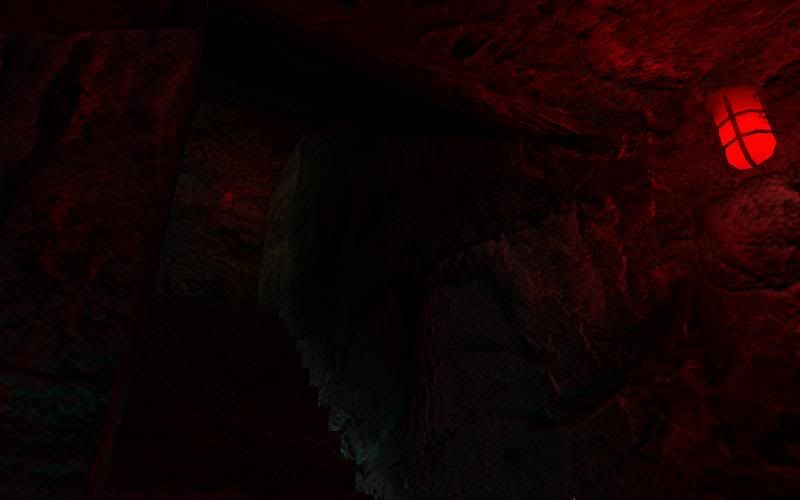
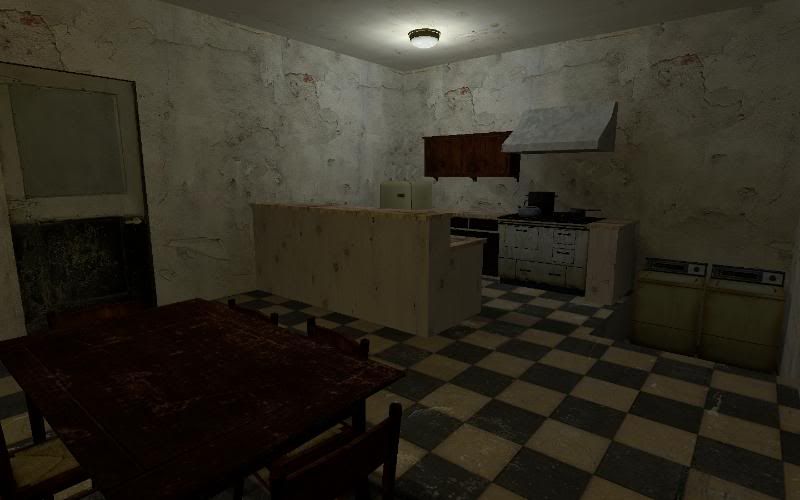
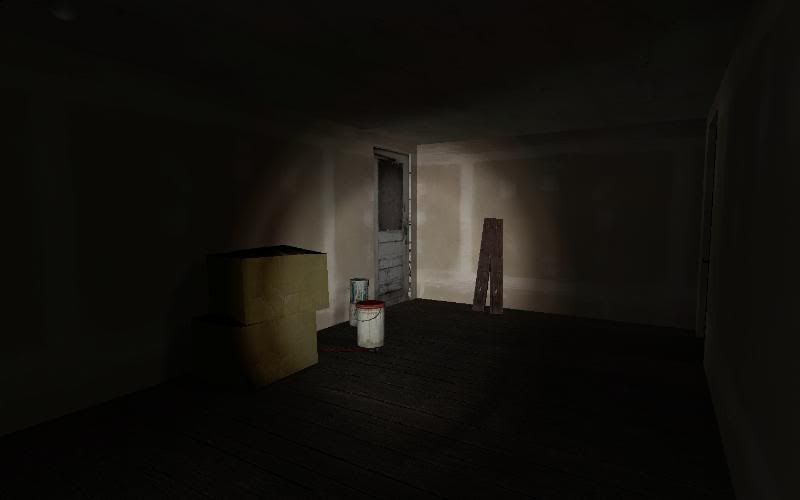
The second level is a complex house in which every room represents a different aesthetic: industrial, hospital, horror movie, construction, old 50's decor, cave, modern/abstract, laboratory. These are all contained in the shell of a modern-type house on the exterior in the middle of the forest at night. I was trying to make the rooms and dimensions as realistically proportional as possible- because most gamesdon't include fine details such as closets in each bedroom of a house, junky rooms with lots of props, or light switches and wall outlets on textures. From the start of production I realized that the game world and reality are different in that players like to have a lot of room to maneuver and take cover from enemies. For this reason, I found it hard to stage a battle sequence in the house because there wasn't really any good places to fight. The house would serve more as an ammunition reservoir to recover from a recent battle and gain background information about the world.
Here are some screenshots of each level:

Prison


House


I realize that the lighing in each is a little dark (I was experimenting with moody and colored lights but I had a play tester run through them and would always revert to using the flashlight. I will make sure and fix this in future levels.

Sunday, October 7, 2007

Halo 3!

So Halo 3 has been out for about a week now. I've heard mixed reviews- most of my friends are saying that it was over hyped, but still- it's halo, so it can't be too much of a disappointment (Gamespot gave it a respectable 9.5). I guess they were comparing it to the likes of Gears of War. Still, Halo (to me anyway) was never really about the single player campaign but shined in multi player. Good Times. Moments like these really taunt me to get an xbox 360...